
Next.js Hosting
Moving Next.js Off Vercel: A Practical Migration Guide
Move your Next.js app off Vercel step by step. Copy settings, replace cron jobs, test your app, and switch domains, with optional Adios examples.
On this page7 sections
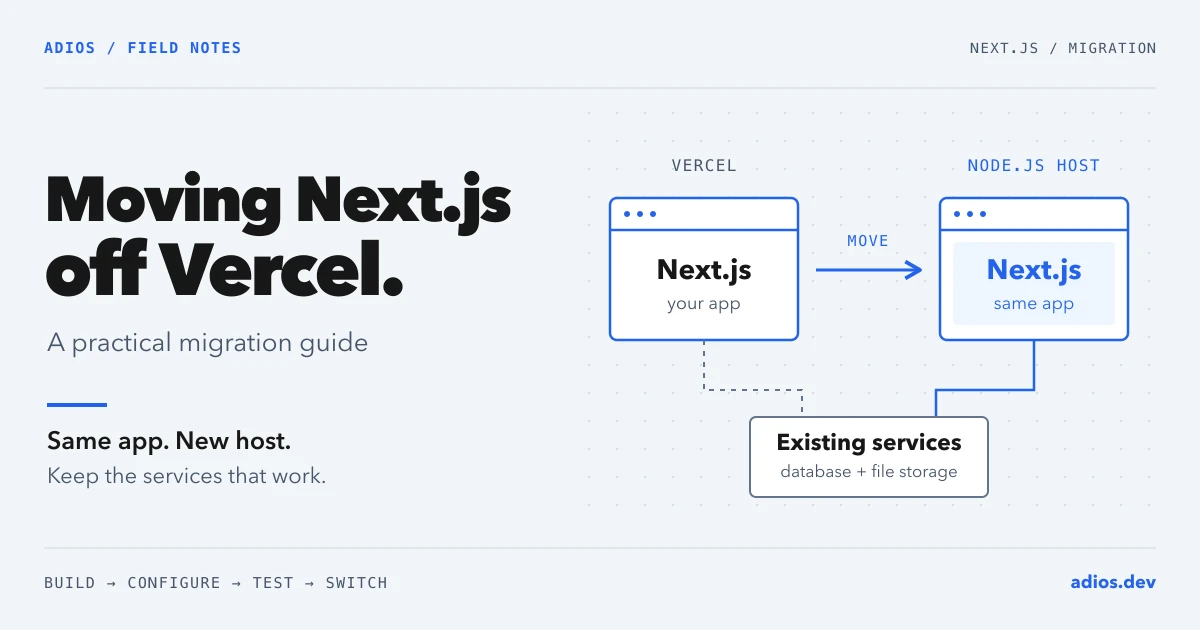
You can move a Next.js app off Vercel without changing frameworks. Next.js runs on hosts that support Node.js. The work is getting your app's settings, connected services, and scheduled jobs working in the new place. Next.js deployment options
The easiest first move is usually to keep your existing database and file storage, get the app working at a new URL, then move your domain. That gives you fewer things to troubleshoot at once.
This guide follows that process. You can use it with your chosen Node.js host; the Adios examples show one way to put the steps into practice. You'll need your project files, access to your Vercel settings, and access to your domain's DNS settings when you're ready to switch.
1. Make a short list of what your app uses
Keep the services that already work
Moving the app doesn't automatically mean moving its data. If your current database allows connections from the new host, you can usually keep using it. Check whether it has an IP allowlist or other connection restrictions.
Do the same for file storage, authentication, payments, and email. Keep the services you're happy with when they support the new setup. For example, Vercel documents how to access Blob storage from outside Vercel using a read-write token. Vercel Blob authentication
Save a working version of your code before starting. For this first move, avoid combining a hosting change with a framework upgrade or database redesign.
Check the settings Vercel currently supplies
Open your Vercel project settings and your project's package.json, next.config.*, and vercel.json, if present. Fill in this small checklist:
| What to find | What to write down |
|---|---|
| Build settings | Node version, package manager, build command, and project folder |
| Environment variables | Variable names and whether they belong to Production, Preview, or Development |
| Database and storage | Which services you use and whether the new host can connect |
| Login and payments | Callback URLs and webhook URLs that point to the current app |
| Cron jobs | Which URL each job calls, how often, and what it changes |
| Domains | Which domain visitors use and where its DNS is managed |
A callback URL is where a service sends the user after something such as signing in. A webhook URL receives a notification from another service, such as a payment update. Both may need changing when the app's address changes.
Also search your code for @vercel/ and VERCEL_. Check each result: some integrations work elsewhere, while others depend on Vercel supplying a value or running a service. A new host won't automatically recreate those settings.
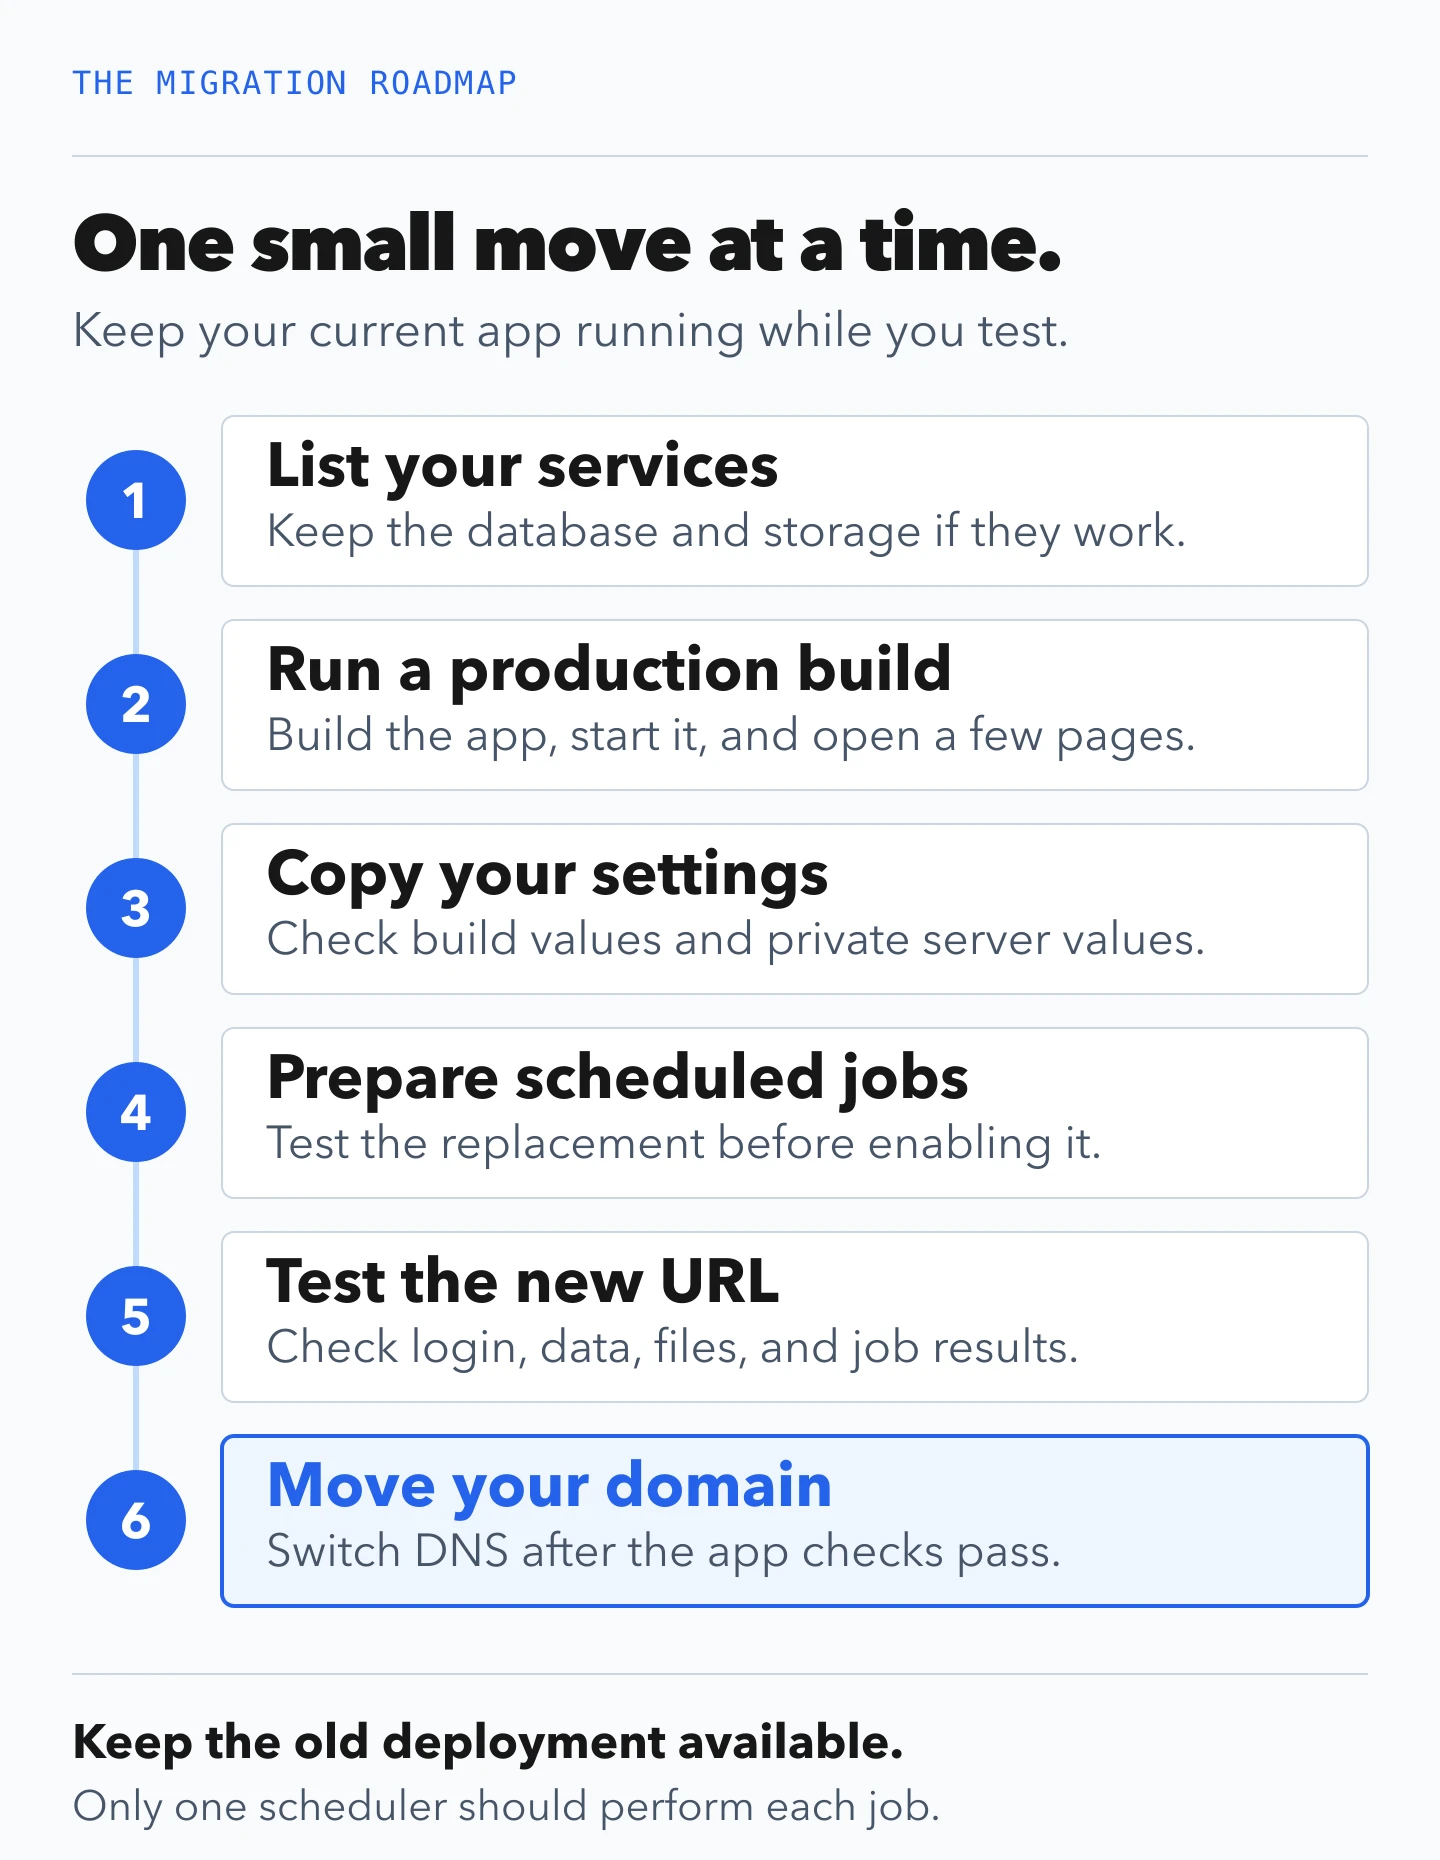
Keep the old deployment available while you prepare and test the replacement.
2. Check that your app runs in production mode
Build and start it on your computer
Start with the Node version and package manager your project already uses. These examples use npm and assume you have a committed package-lock.json.
Check that the scripts in package.json include these entries. Merge them with your existing scripts; keep any build steps your app needs.
{
  "scripts": {
    "dev": "next dev",
    "build": "next build",
    "start": "next start"
  }
}
In a terminal opened in the app's folder, run:
npm ci --include=dev
npm run build
npm start
npm ci installs the versions saved in your lockfile. npm run build prepares the production app. npm start runs that build. If you use pnpm or Yarn, use your project's equivalent commands. Next.js Node server setup
Open the local address printed in the terminal. Check a few pages, including a page that loads data. If the build reports a missing setting, add it to your local environment and try again. Use test credentials for checks that send email, take payments, or change customer data.
This example uses the normal next start setup. If your app already uses output: 'standalone', keep its generated-server start command and include its browser assets. The Next.js standalone instructions cover that packaging option.
Optional: describe the app's setup for Adios
On your chosen host, configure the build command, start command, and port. The port is the number the app listens on; the host's setting and the app's setting must match.
For Adios, create adios.yaml next to package.json. This example uses Node 24, one running instance, and port 3000:
name: my-nextjs-app
region: de
replicas: 1

build_cmd: npm ci --include=dev && npm run build
start_cmd: npm start -- --hostname 0.0.0.0 --port 3000

runtime:
  name: node@24
  port: 3000
  health_path: /api/health
  memory_mb: 1024
Choose a supported Node version compatible with your app and a region available to your team. The --hostname 0.0.0.0 setting lets the host reach the running app. Finish adding your settings in the next section before deploying. The Adios quickstart explains these fields.
The health_path is a URL the host checks to see whether the app responds. If you don't already have one, this basic App Router example goes in app/api/health/route.js, or src/app/api/health/route.js if you use src/:
export function GET() {
  return Response.json({ status: 'ok' })
}
Make sure your login middleware allows this URL without signing in. This check confirms that the app responds; it doesn't prove that login, payments, or the database work. You'll test those separately.
3. Copy your settings and connect your services
Put each setting in the right place
Copy the settings the app needs from Vercel into the new host's configuration. Match the environment you're testing: a test deployment should use test payment keys and suitable test data.
There are two times a setting may be needed:
- Build time: while
npm run buildprepares the app. - Runtime: while the finished app serves requests.
| Example setting | Where it usually belongs |
|---|---|
NEXT_PUBLIC_SITE_URL | Build settings; its value can appear in the browser |
DATABASE_URL | Private server settings; also build settings if the build reads the database |
| Authentication signing secret | Private server settings, following your login library's instructions |
| Payment or email API key | Private server settings |
CRON_SECRET | Private server settings for the scheduled-job example below |
Use your app's actual variable names. A name beginning with NEXT_PUBLIC_ is for information that can be public. Never use that prefix for a password or private API key.
Next.js inserts directly referenced NEXT_PUBLIC_* values into the browser code during the build. If you change one, rebuild the app. Changing a runtime setting alone won't update that browser code. Next.js environment variables
Optional: add Adios secrets and deploy
In Adios, select the team that will own the app and create its private values under Secrets. Then reference them in adios.yaml. For an app that uses these two variables, add:
env:
  DATABASE_URL: secret://DATABASE_URL
  CRON_SECRET: secret://CRON_SECRET
The text secret://DATABASE_URL tells Adios to load the stored value. It isn't the database password itself. Only add variables your app uses. Adios secrets and configuration
For a public setting needed during the build, add a build.env block. Replace this example address with the address you intend to use:
build:
  env:
    NEXT_PUBLIC_SITE_URL: https://app.example.com
If your server also reads that setting at runtime, include it under env as well. If the build needs a private value, use a secret reference in build.env. Keep private values out of the file. Adios manifest reference
After installing the Adios CLI, sign in, list your teams, and select the same team used for Secrets:
adios login
adios teams
adios teams switch YOUR_TEAM_ID
adios up
Replace YOUR_TEAM_ID with your team's ID. Run these commands from the folder containing adios.yaml. adios up uploads and builds the app, starts a release, and waits for its health checks. Open the generated URL when it finishes. Adios deployments
On another host, follow its deploy instructions, then continue with the same job and application checks below.
4. Replace Vercel Cron with a new scheduler
Keep your existing job route
Skip this section if your app doesn't use scheduled jobs.
A cron job is work that runs on a schedule, such as sending a report or clearing expired records. With Vercel Cron, your app contains the code and Vercel calls its URL. Moving the code alone won't schedule it on the new host.
For example, you might have this in vercel.json:
{
  "crons": [
    { "path": "/api/cron/daily-report", "schedule": "0 8 * * *" }
  ]
}
That configuration requests a daily run of /api/cron/daily-report at 08:00 UTC. You can keep the route and have a new scheduler call it. Vercel Cron Jobs
Keep the route protected. If it already checks Vercel's CRON_SECRET, copy that private setting to the new app. The new scheduler needs to send an Authorization header containing Bearer followed by the same secret. The route must reject missing or incorrect credentials before doing any work. Securing Vercel cron jobs
Optional: run the job with an Adios Workflow
An Adios Workflow can call your existing route and show the result of each run. You can also use another scheduler that supports HTTPS requests and authentication headers.
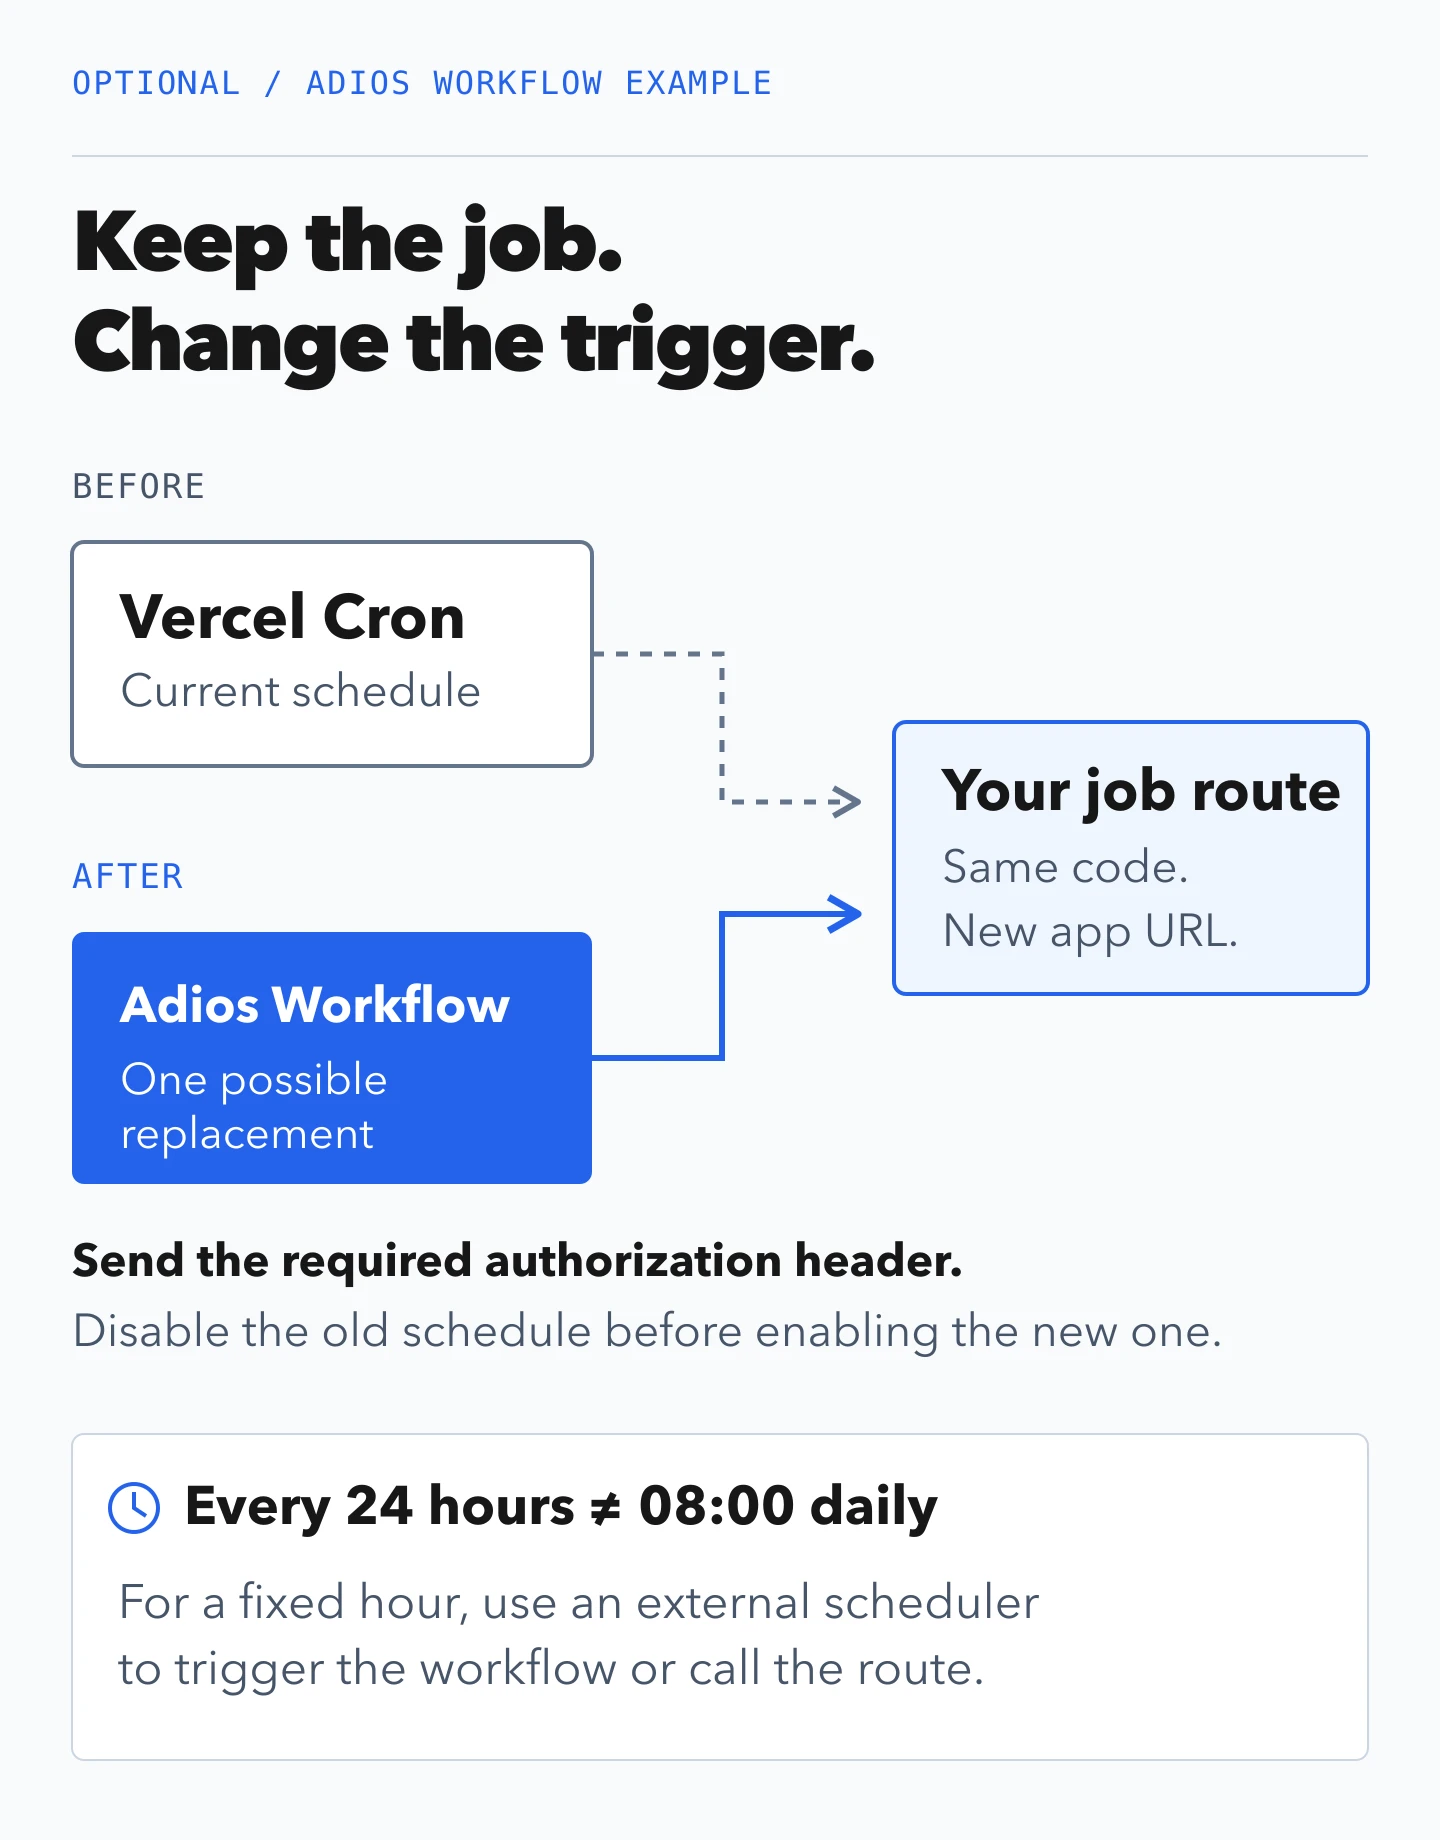
Keep the job code and replace its trigger. Choose an interval or a fixed-time scheduler to match the timing your job needs.
Start with a manual run. In the same Adios team's Secrets, create CRON_AUTHORIZATION. Its value must be the complete header, Bearer followed by your existing CRON_SECRET value. The app uses CRON_SECRET to check the request; the workflow uses CRON_AUTHORIZATION to send it.
Create workflows/daily-report.yaml. Keep it separate from the app's root adios.yaml:
workflow_id: daily-report
title: Daily report
team_id: YOUR_TEAM_ID
enabled: true
version: "1"

steps:
  - step_id: call-report
    name: Run the existing report route
    kind: http
    timeout_seconds: 30
    command:
      method: GET
      url: https://your-app.example.com/api/cron/daily-report
      headers:
        Authorization: secret://CRON_AUTHORIZATION
Replace the team ID and URL with your own. For this first run, use a test deployment connected to test data: a manual run still sends the emails or changes the records that your route tells it to. Keep the exact route path from your current cron configuration. The secret reference must fill the whole header field: writing Bearer secret://CRON_SECRET would send that text literally. Adios Workflow secrets
Deploy the workflow:
adios workflow deploy ./workflows/daily-report.yaml
Open Workflows, start a manual run, and inspect the step's status and output. Confirm the report or database change actually happened. Also check that a request without authorization is refused. Choose a longer timeout_seconds only if the route needs it and the app's host allows that request duration. Create and inspect a workflow run
Next, choose the timing you actually need:
| Requirement | How to schedule it |
|---|---|
| Repeat every 24 hours; the exact hour doesn't matter | Add an Adios interval trigger |
| Run at 08:00 UTC or a specific local time | Use a calendar scheduler to trigger the workflow by webhook, or call the protected app route directly |
For the interval option, add this top-level block to the workflow file:
triggers:
  - type: schedule
    interval: 24h
A 24-hour interval isn't a direct replacement for an 08:00 schedule. Adios currently doesn't evaluate general calendar cron expressions such as 0 8 * * *. A new interval may run on the next scheduler check, and a scheduler restart resets its interval tracking. Choose the interval option only if that timing suits the job. Adios scheduling behavior
Leave the trigger block out until the app checks in the next section pass and you're ready to move the job. Set the workflow URL to the new production app, disable the old Vercel schedule, and check whether a run is still in progress. Then add the trigger and redeploy the workflow with the same command above. Vercel has a project-wide Disable Cron Jobs control; if you're moving only one job, remove that job's configuration and redeploy on Vercel instead. Managing Vercel cron jobs
Make repeat runs safe. For a daily report, store which report date has already been sent and refuse a duplicate, using a database constraint or equivalent protection against simultaneous requests. Adios's current scheduler doesn't enforce its concurrency field, so that setting won't prevent overlapping runs.
5. Test the app at its new URL
Walk through what a customer does
Keep your main domain on the existing app while you test the new address. If you use an external login provider, register the new callback URL before trying to sign in. Use test accounts and test payment mode where available.
| Try this | What should happen |
|---|---|
| Open the home page and a deeper page | Both load, including styles, images, and scripts |
| Sign in, refresh, and sign out | Your session behaves as expected |
| Create or update a test record | The change is saved and still appears after refreshing |
| Upload and open a file | The file works and private files remain private |
| Open another account's private URL | Access is refused |
| Trigger a test payment webhook, if used | The expected payment state changes once |
| Run a scheduled job manually | The expected result appears without a duplicate action |
A webhook test should check what changed in the app, not just whether the endpoint returned success. For Stripe, test duplicate delivery as well; Stripe documents that events can be delivered more than once. Stripe webhook guidance
If both app versions connect to production data, either version can change it. Keep test activity controlled and leave destructive scheduled jobs disabled until you're ready to switch them.
Use the logs to fix what fails
On Adios, these commands show the build and running-app logs:
adios logs --build
adios logs --runtime
On another host, open its equivalent log view. Start with the first relevant error:
| Symptom | First thing to check |
|---|---|
| Build says a variable is missing | Is it available during the build? |
| App starts but the host marks it unhealthy | Do the start command, port, and health URL match? |
| Database connection fails | Is the connection setting correct, and does the database allow this host? |
| Login redirects to the old URL | Update the login provider's callback and your app's URL setting |
| Public URL setting still shows the old value | Rebuild after changing the public build variable |
Job returns 401 Unauthorized | Check the app's secret and the workflow's complete authorization header |
Test any special features your app uses through its new public URL. For an AI chat screen, check that streamed text arrives gradually. For cached pages, update some test content and check that visitors see the change. If you run several app instances, follow Next.js's guidance on shared caching and other multi-server settings. Next.js self-hosting
6. Move your domain after the checks pass
Add the domain, then update DNS
DNS tells browsers where to find your domain. Before changing it, save the current records so you can restore them if needed.
Add your custom domain on the new host and follow its verification, DNS, and HTTPS instructions. For Adios, use the domain setup guide. Use the records supplied for your app; avoid copying addresses from an unrelated example.
If you used a temporary URL during testing, update the app URL settings and callback URLs for the final domain. Rebuild any public values that changed. Check webhook destinations and the workflow's target URL too.
Once DNS is updated, open the domain and repeat login, a test read/write, and an image check. Confirm you're looking at the intended release. Some visitors may still reach the old app while cached DNS records expire, so keep both versions compatible with the shared database during the change.
Keep a way back to the working app
Leave the previous deployment available while you check the new one. Save the working code revision and settings along with the old DNS records.
If a critical feature fails, such as login or saving data, you can restore the previous routing while you investigate, provided the old app still works with the current database. A DNS change takes time to reach everyone, and it won't undo database changes or emails already sent.
Keep track of which scheduler is active. Returning the website to Vercel doesn't necessarily mean you should turn its cron jobs back on. Make that decision separately so only the intended scheduler performs the work.
7. Use a final migration checklist
Confirm the app is ready for visitors
- The production build succeeds and the new URL serves the intended version.
- Required settings are available at build time or runtime as appropriate.
- Login, data changes, images, and uploads work.
- Private pages and files remain protected.
- Payment and email integrations have passed their relevant test flows.
- Each scheduled job has a tested replacement with suitable timing and authentication.
- The old scheduler is disabled before the replacement schedule starts.
- The custom domain works over HTTPS, including callbacks and webhook URLs.
- The previous working version and DNS records are available if recovery is needed.
Check the first real scheduled run
After the move, check logs, a normal customer journey, and the first scheduled job. A manual test proves that a job can run; the first scheduled run checks that its trigger is working too.
Keep your service list and test results with the project. They'll make the next deployment easier to check.
For more detail on running the Node server yourself, read Running Next.js as a Node Server Without Lambda. If you'd like to use Adios, the Next.js deployment guide walks through the platform setup.